E-mail: info@gem-cablesolution.com
 Address: No.8 Yuefeng Rd, High Tech Zone, Dongtai, Jiangsu, China | No.109 Qilin East Rd, Daning, Humen, Dongguan, Guangdong, China.
 English
  English
 русский
 日本語
日本語 Español
 عربى
عربى 中文简体
中文简体
Content
Replacing the cables on a wire and cable extruder is a maintenance task that requires care and patience. Here, "cables" typically refers to the power or signal lines inside the machine.
The following are the steps for replacing the cables on a wire and cable extruder:
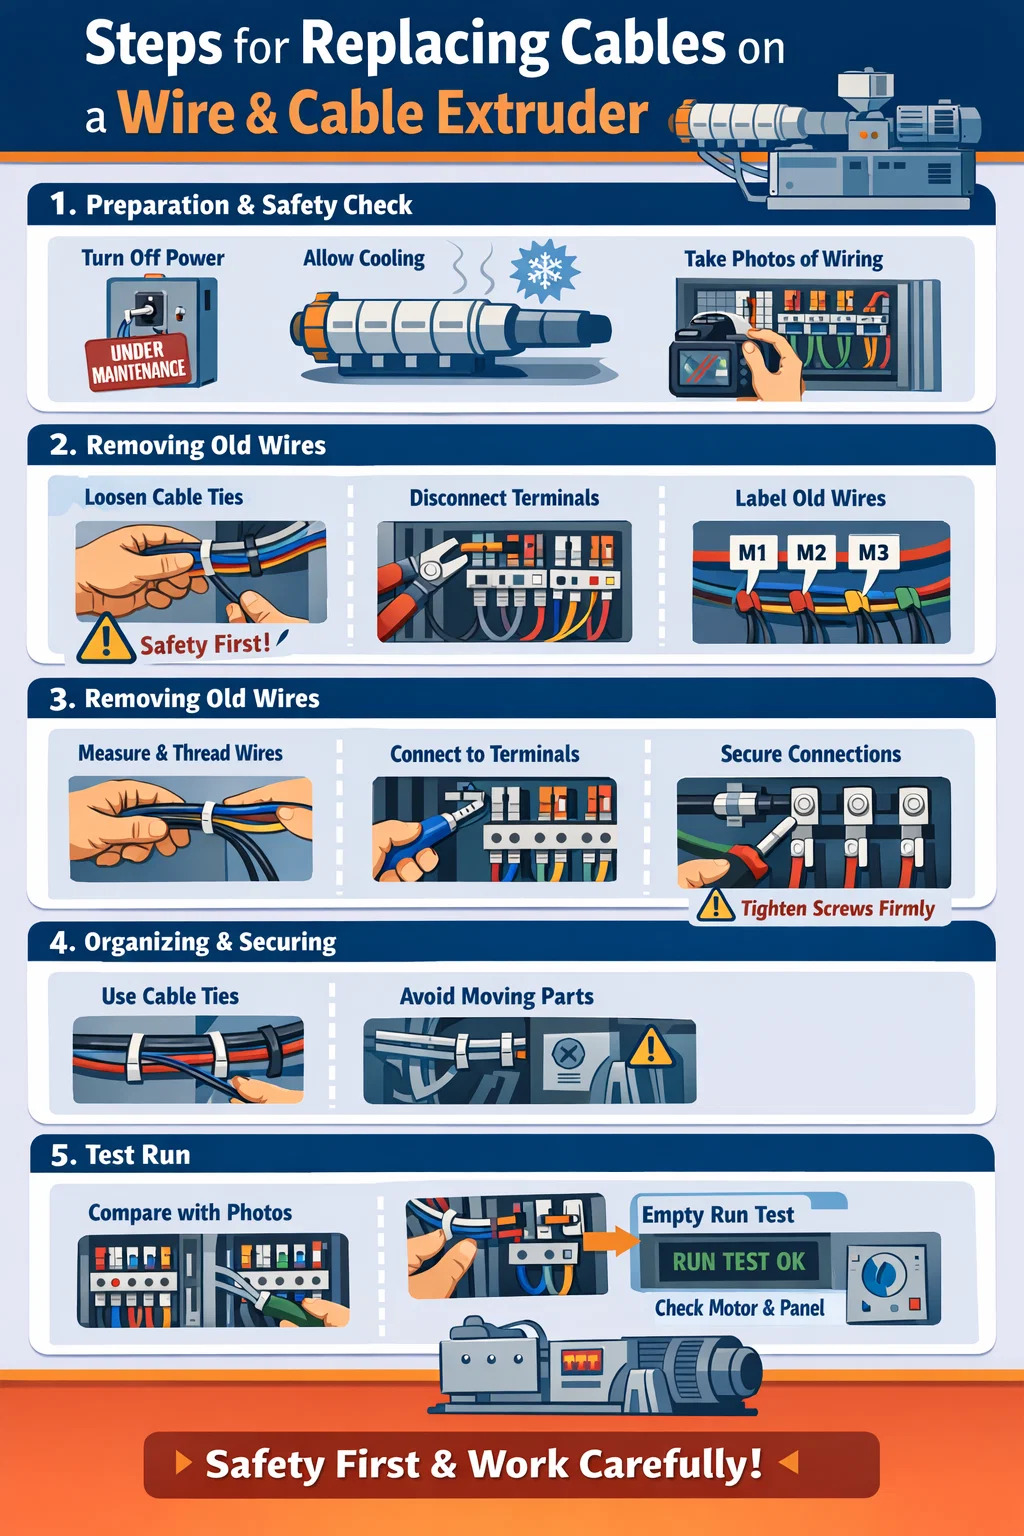
1. Preparation and Safety Check
Safety is paramount before starting any work.
Completely disconnect power: The main power to the wire and cable extruder must be turned off, and the plug disconnected. It's best to hang a "Under Maintenance" sign on the switch to prevent accidental activation.
Wait for cooling: The machine's barrel and die head are very hot; wait until they have completely cooled down to avoid burns.
Take photos: Before disconnecting the wires, take pictures of the original wiring, especially the wire colors and corresponding terminal positions. This will ensure you don't misconnect the new wires later.
2. Removing Old Wires
Loosen fasteners: Follow the path of the wires and remove any cable ties or metal clips used to bundle them.
Disconnect terminals: Use a screwdriver to loosen the screws on the terminals. If the wire ends have small metal rings (terminals), gently pull them out; do not pull forcefully.
Mark old wires: If you are replacing several wires at once, remember to attach a small label to each old wire, clearly indicating which motor it is connected to.
3. Installing New Wires
Measure the length: The new cable should be slightly longer than the old one, leaving some slack to prevent the wire from being pulled too tightly during machine operation.
Thread the wires: Thread the new wires along the original path. If you need to thread them through narrow tubes, you can use a thin wire to guide them.
Secure the connections: Insert the ends of the new wires into the terminals and tighten the screws. Note: The screws must be tightened securely; loose connections can cause sparks or intermittent operation.
4. Organizing and Securing
Cable ties: Use new plastic cable ties to secure the cables, avoiding areas that generate heat, such as the barrel.
Avoid moving parts: Ensure that the cables are not caught by rotating screws, belts, or opening and closing molds.
5. Test Run
Final check: Compare with the photos taken earlier to confirm that the wiring positions are exactly the same.
Empty run test: Do not add any raw materials yet. Power on the machine and briefly activate it to check if the motor of the wire and cable extruder is rotating in the correct direction and if the data on the control panel is normal.